

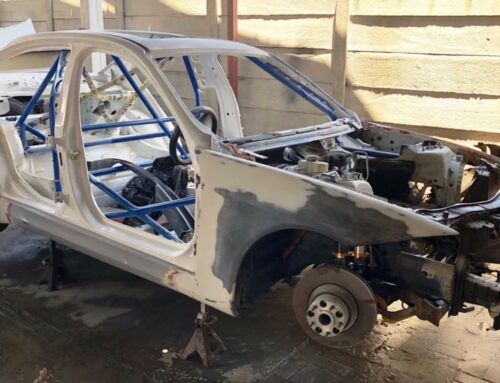
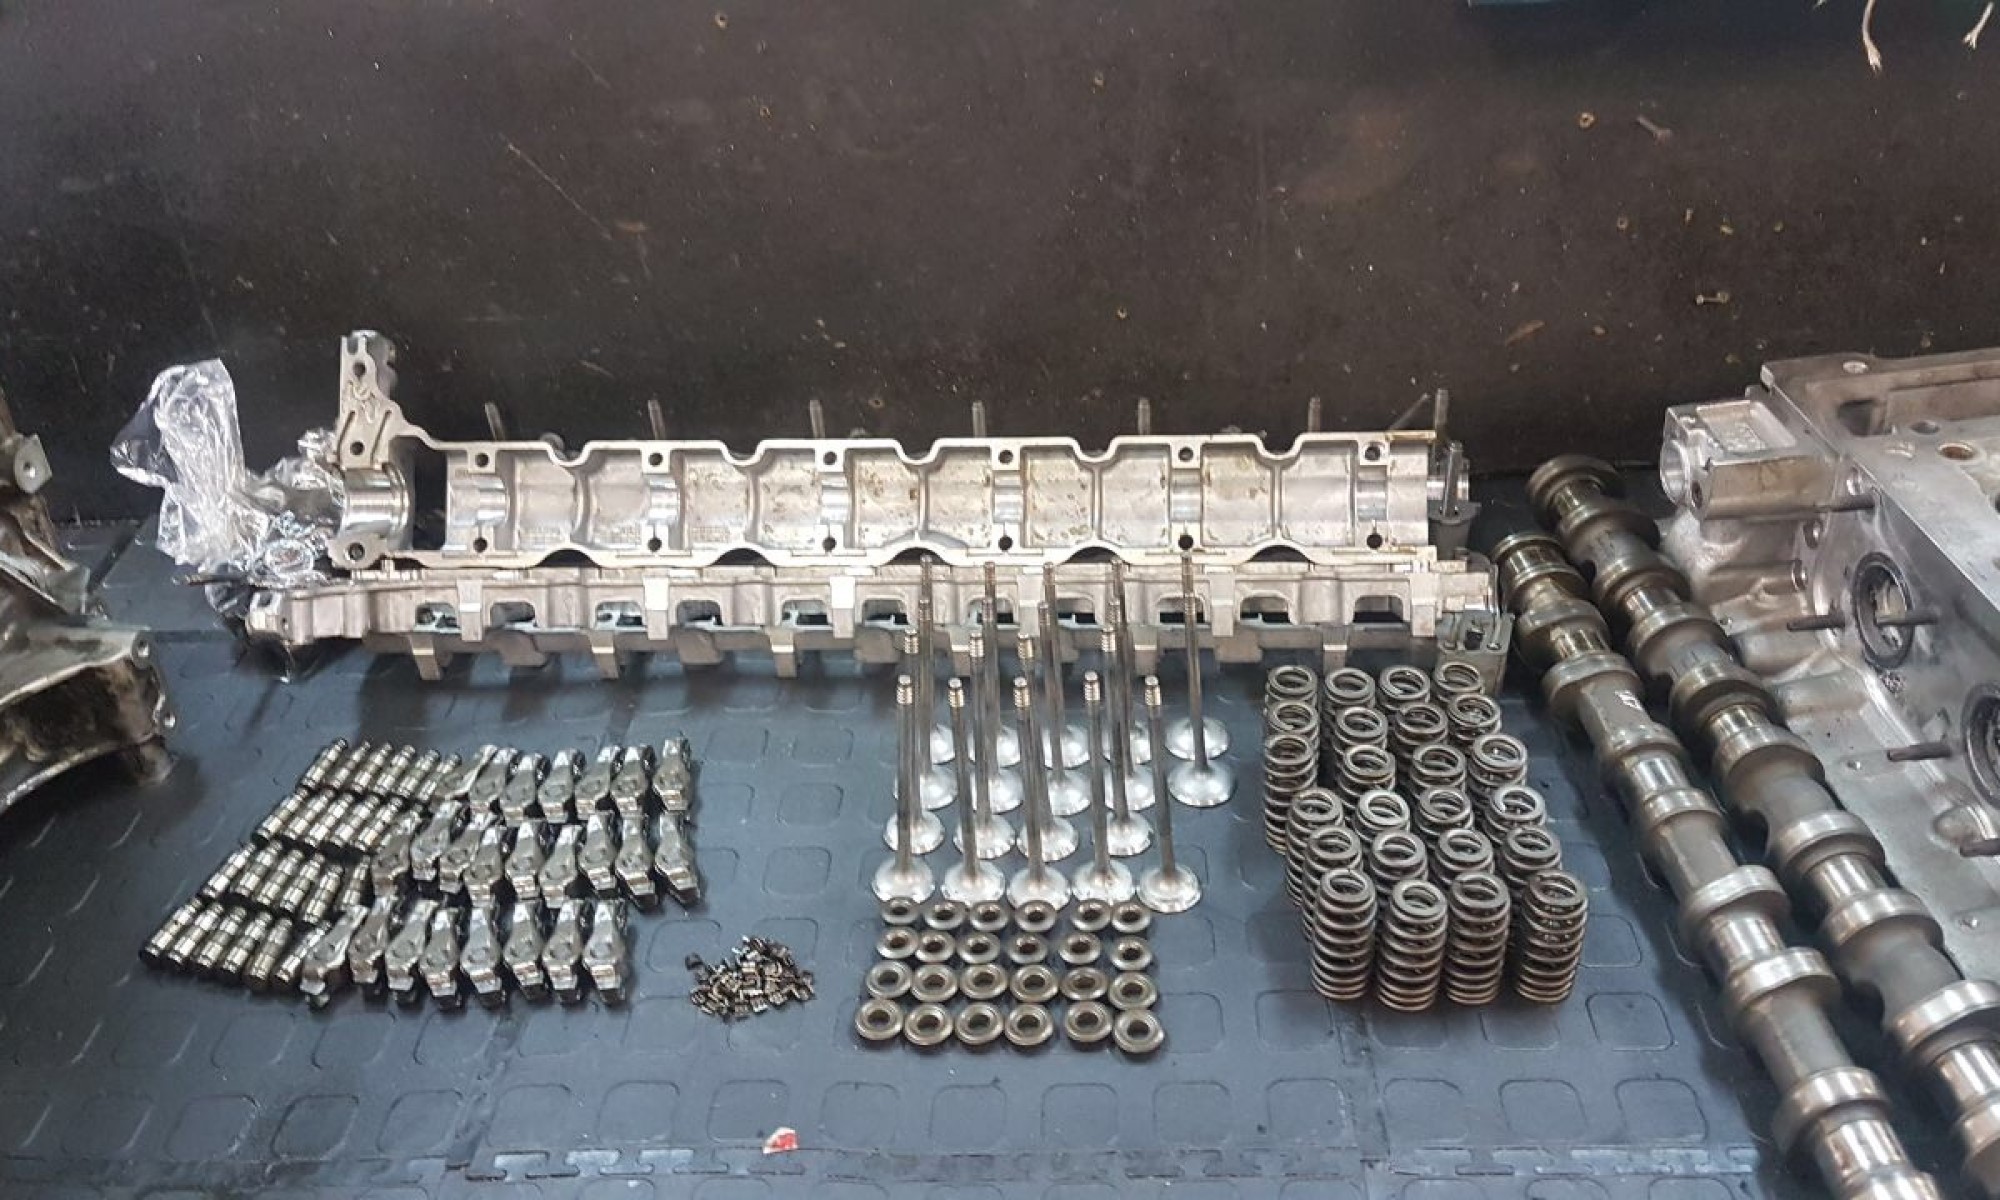
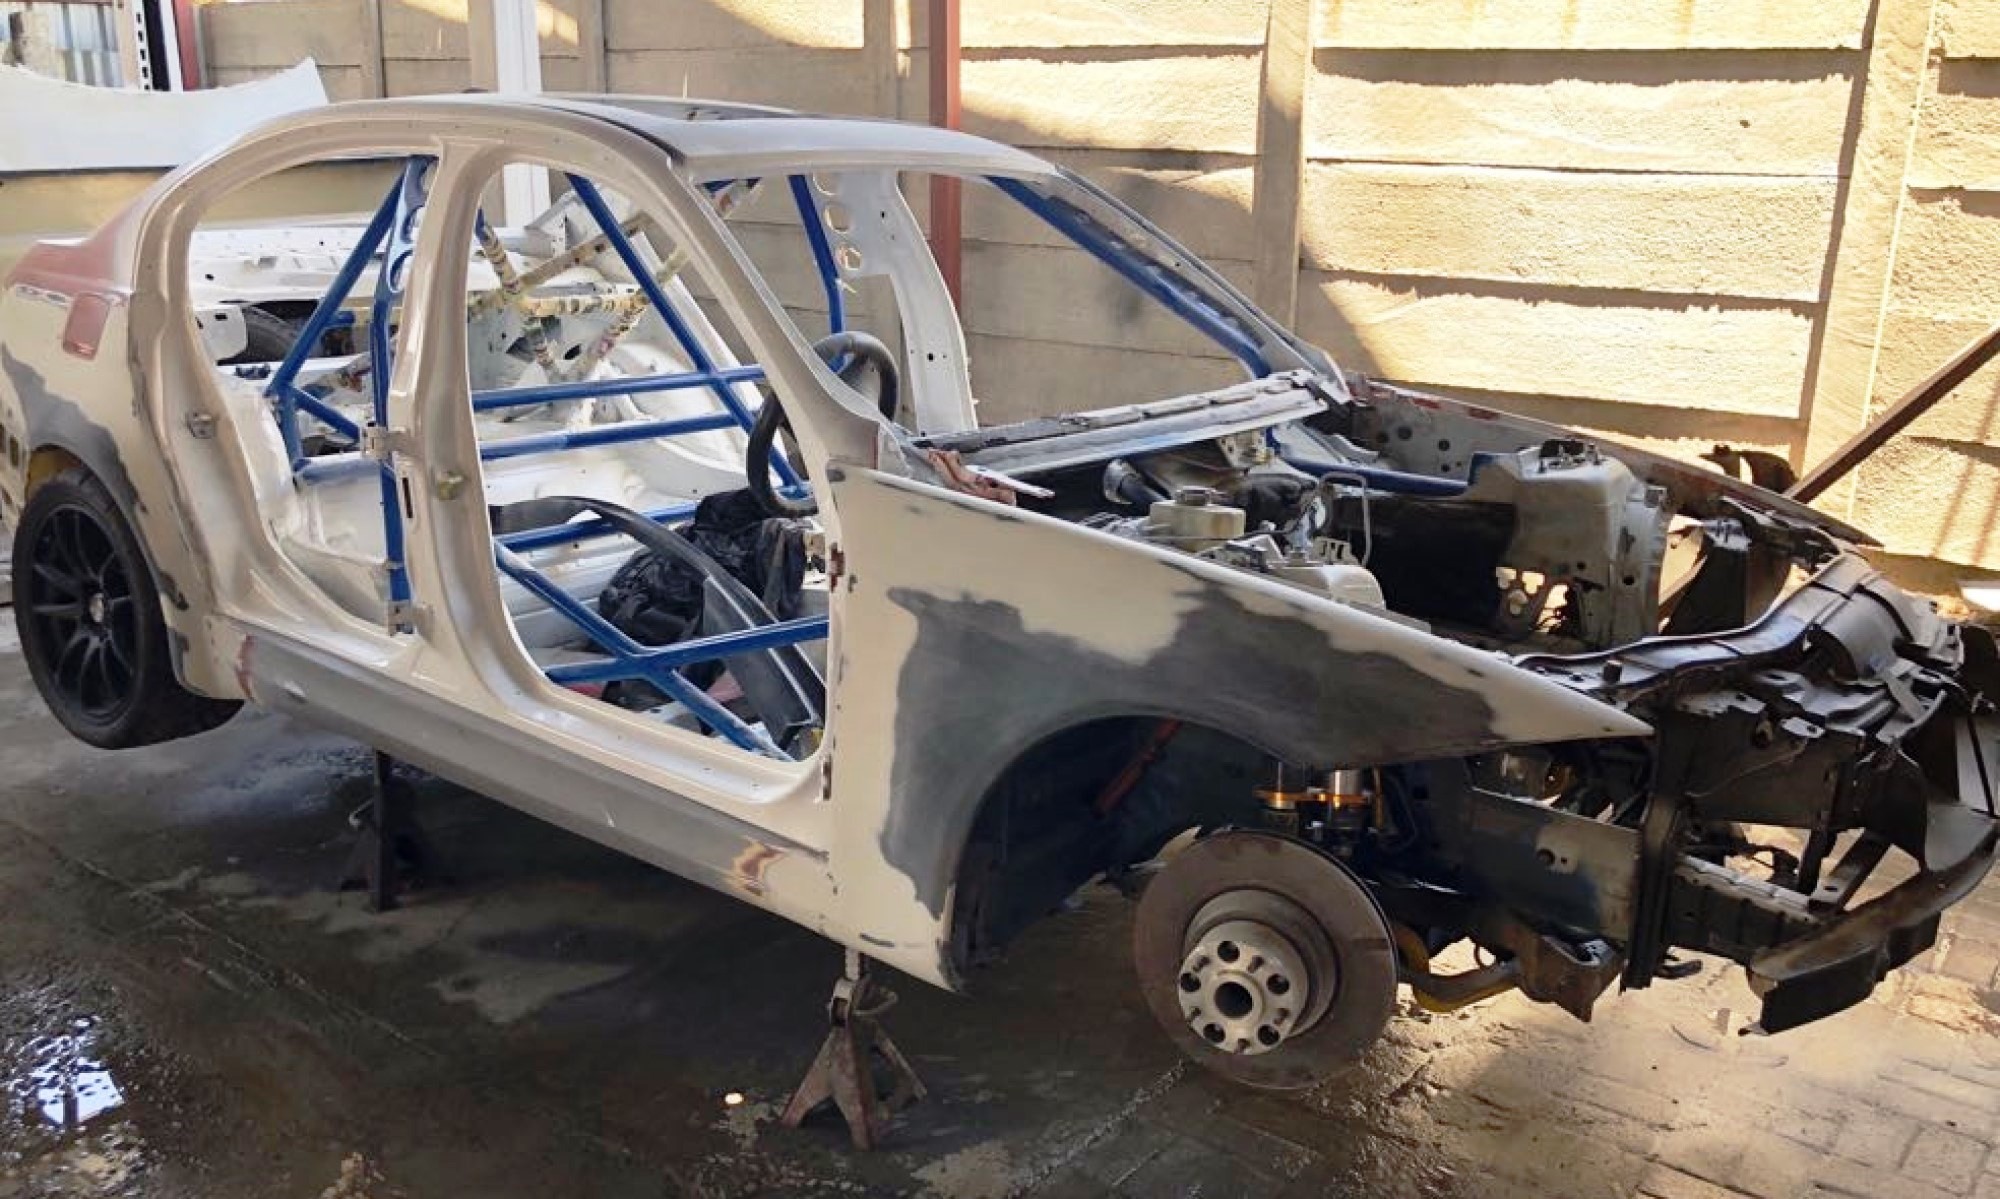
We’ve been busy these past few weeks, improving parts of the engine that we felt could be better suited to the MX-5’s current duties as a racecar. Several long nights, consumption of much junk food and many scuffed knuckles later, I am happy to report that Project MX-5 is ready to go again.
Unfortunate consequence
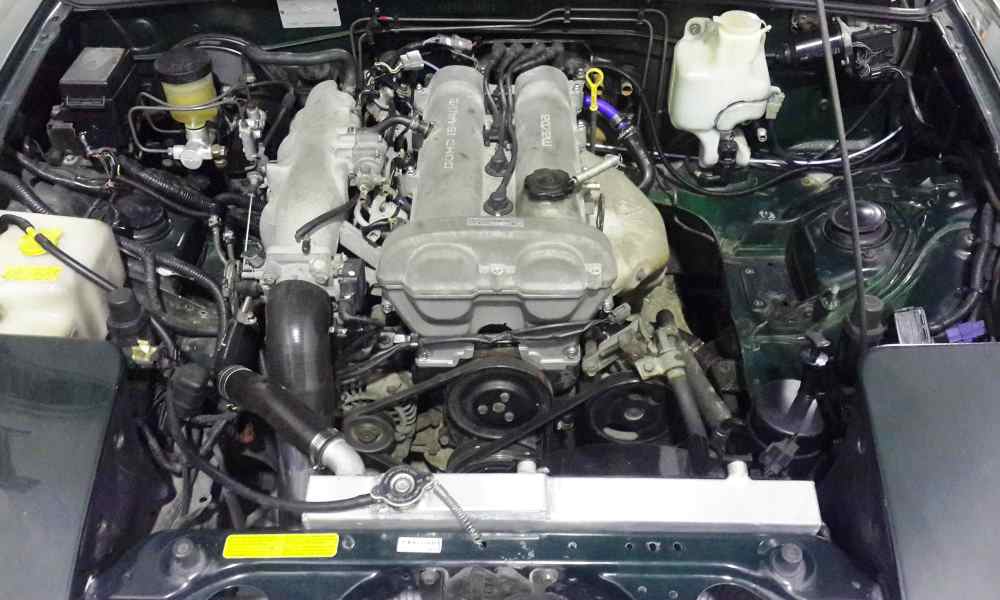
For everything that Mazda got right with the first generation MX-5 (NA series) it made one unfortunate error. The engine for the NA was chosen from elsewhere in the Mazda family and in its former application the motor was installed transversely.
When turned 90 degrees for the longitudinal mount in the little roadster, Mazda engineers saw fit to move the coolant outlet from the back of the head to the front of the head. The essentially meant that less cooling takes place on the cylinder closest to the firewall.
Known problem with solutions
In regular use, this isn’t that big a deal, but as more and more owners modified their MX-5s/Miatas over the years, they started to figure out that cylinder four wasn’t receiving enough cooling and could overheat and, in some cases, even run lean.
With an abundance of these cars being modified and raced in the US, owners have taken to rerouting the coolant to exit at the back of the head. In fact, many Miata parts stores will sell you an entire kit to do just that.
Making it up
Sadly, such stores are not commonplace at the pointy end of Africa so when ace engineer, and fellow MX-5 owner, Andre du Plessis suggested the coolant redirect for my car we had to source all the bits and pieces ourselves.
To gather the hoses and related fittings needed we popped into one of Cape Town’s best automotive toy stores, Flat Four Racing. Flat Four stocks just about anything a petrolhead’s heart desires, particularly if you own a Beetle or related model.
Owner Dave Rowley and I compete in the Fine Cars category together and he was very helpful in providing us with the bulk of the products we needed. Barring the thermostat housing and a few other bits, Rowley gave us a box full of fittings to complete the job.
More efficiency
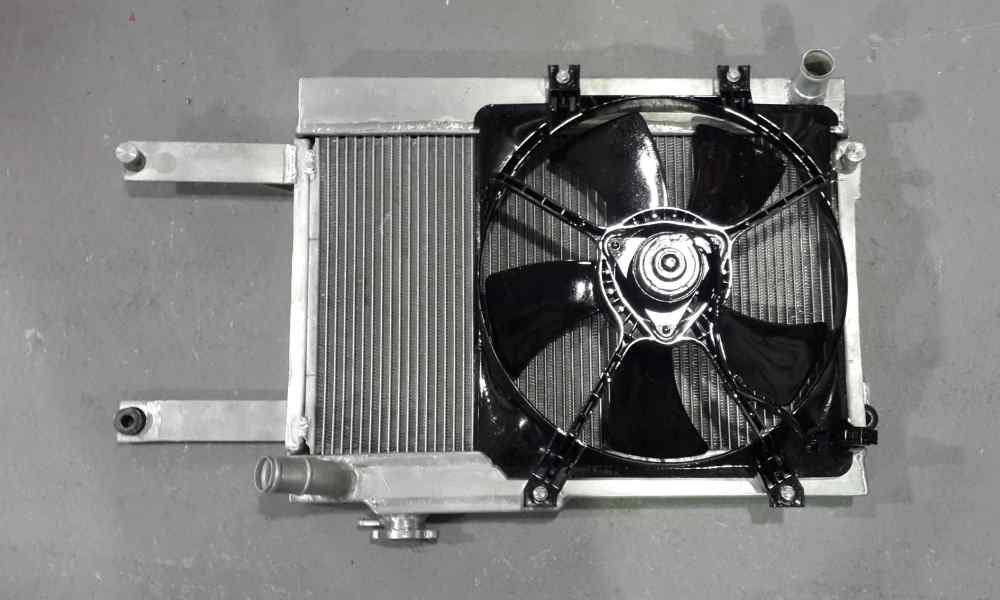
While we were upgrading the cooling system we decided to ditch the original radiator in favour of a more efficient unit. Brandon Booth of Joe’s Radiators eagerly came aboard to help out. Booth measured up the available space in the Mazda’s nose and custom-fabricated a unit to suit.
The new, all-aluminium unit is 32 mm thick as opposed to the standard 16 mm. And crucially, it is also 150 mm narrower than the original item. More on that in a bit.
Plumbing it all in
With Du Plessis leading the charge, we mocked up the new coolant flow path, then machined/cut/bent all the bits to fit ideally.
Over the course of a few evenings spent in the workshop at GT Graphics, we managed to install the radiator and plumb in the entire system, complete with new thermostat housing and a welsh plug for the old exit at the front of the head.
We’ve even done away with the standard fan activation from the car’s original electrical system and handed that duty over to the PowerMods ECU.
Cooler air
As I mentioned earlier, the new radiator is a tad narrower than before. Since replacing the car’s original ECU with the unit from PowerMods, there was no longer need to keep the stock airbox in play.
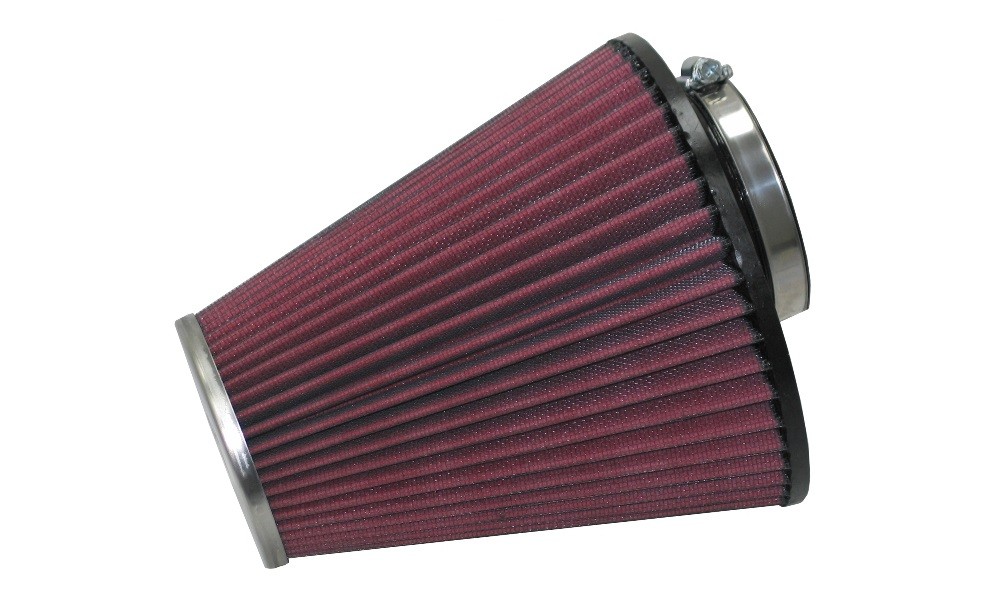
Placement of the box near the hot exhaust manifold and the long inlet path from the box to the throttle body wasn’t ideal and could easily be shortened. We did so by running a pipe downwards from the throttle body, alongside the narrow radiator, to the lower air dam of the front bumper.
At the end of this pipe, which now sits directly in the path of fresh air, is a K&N cone filter provided by our friends at ATS Motorsport.
More power?
Fingers crossed, the new inlet path provides a few more ponies, which I plan to verify on the dyno. The coolant reroute was more of a precautionary measure to ensure longevity of the motor.
I will report on any power gains and the car’s performance at the next round of the racing in an update soon.
Reader feedback
As usual, all comments and suggestions are welcome. I look forward to hearing from you. For intermediate updates feel free to follow the Project MX-5 facebook page.
![Rally Raid MX-5 [video]](https://doubleapex.co.za/wp-content/uploads/Rally-Raid-MX-5-front-2-500x383.jpg)

Hi & thanks for this info on cooling your miata more efficiently! I recently bought a NA for my son as his first car and had the whole engine redone. Sadly it still has the overheating problem. Can you provide us with some more info on how to do the rerouting and parts required? Thanks, Jacques du Plessis